Kathryn Kaiser
There are a few different tools that you can use to touch up or restore old photos, but some of them are more expensive and more complicated than others. Photoshop is the one that most people will have heard of, but it costs £20 a month (at the moment, anyway) and is definitely not beginner friendly.
So instead I’ve decided to focus on two free options – the Windows Photos app and Google Photos website. I’m using a PC in this guide, because the screen is bigger, so you can see more of what’s going on, but you can use the same tools in the Google Photos app on a smartphone or tablet if you prefer.
The first step is to get your photos onto a computer – the easiest way to do this is to scan them in. You can also take a photo of them with a smartphone, but it can be tricky to get a good shot that doesn’t have the shadow of the phone over the top, or reflection from the camera’s flash, so if you have access to a scanner then that’s definitely the best way to do it.
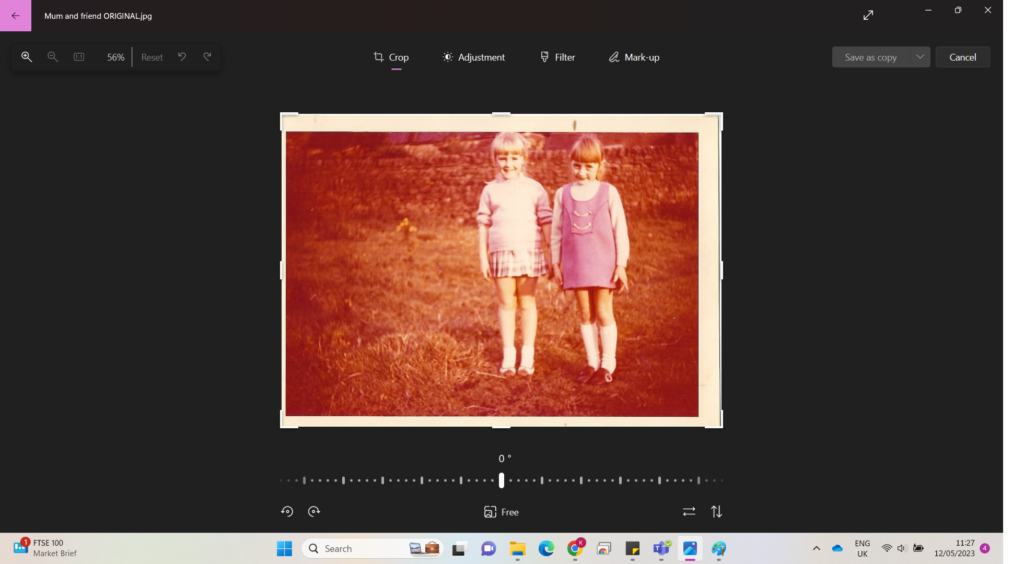
So these are the original photos that I’m going to use – there’s one of my mum aged about 6 with one of her friends, and another of her seventh birthday party.

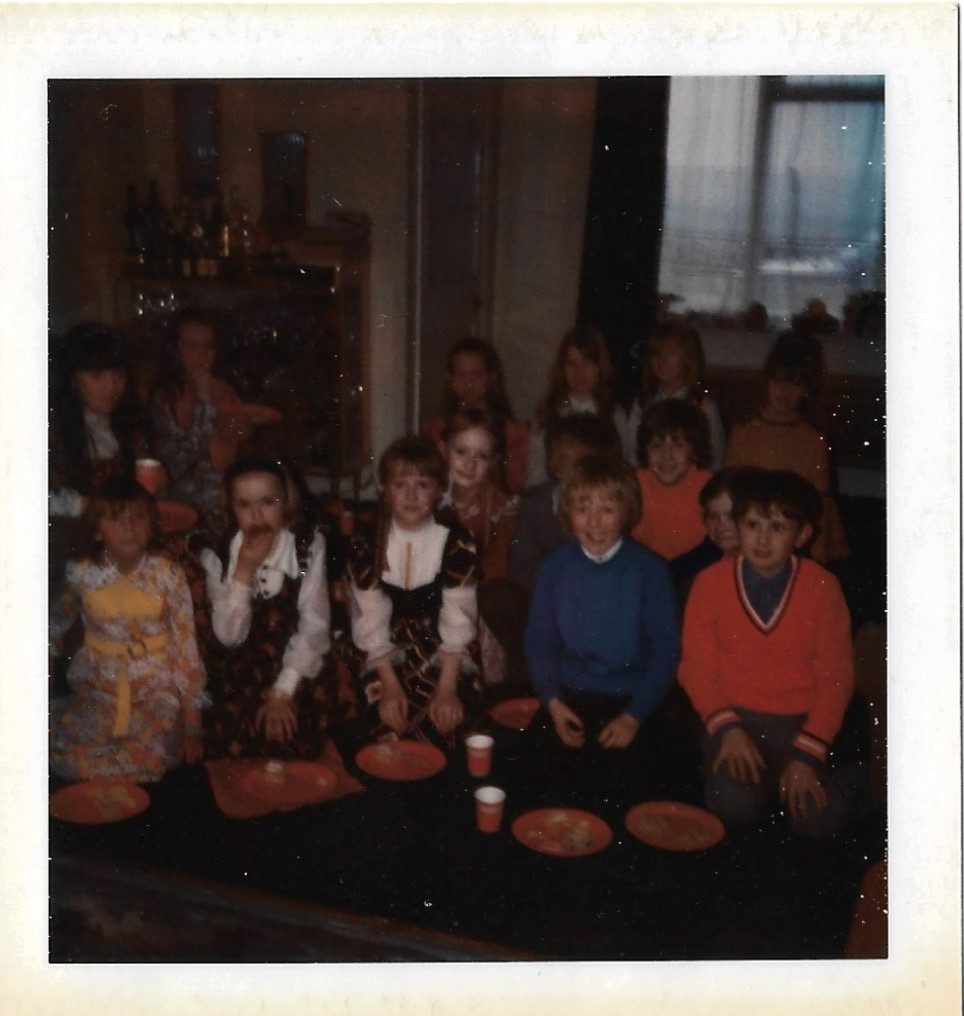
You can see that the first one has a bit of a red tinge to it, and the second one is quite dark and difficult to see. I decided to try editing them in the Windows Photos app first.
Editing the red-tinged photo in the Windows Photos app
- Double clicking on the photo in File Explorer should make it open in the Photos app.
- You can click on the Edit button at the top of the window (it looks like a photo with a pencil icon on it) to make changes to it.
- It’ll open on the Crop and Rotate settings, which can be useful if you want to crop out any white edges from scanning it in or if you haven’t managed to get it the right way up.
- There’s also an Adjustment tab, which is pretty useful for old photos. It opens up a panel of sliders down the right hand side that you can use to adjust the lighting and colours of the photo. To change a setting, click on the dot on the slider and drag it to one side or the other – the photo on the left will change as you do it, so you can see what it looks like. If you don’t like the effect it has, you can drag the slider back to the middle or you can click on the Undo button in the top left.
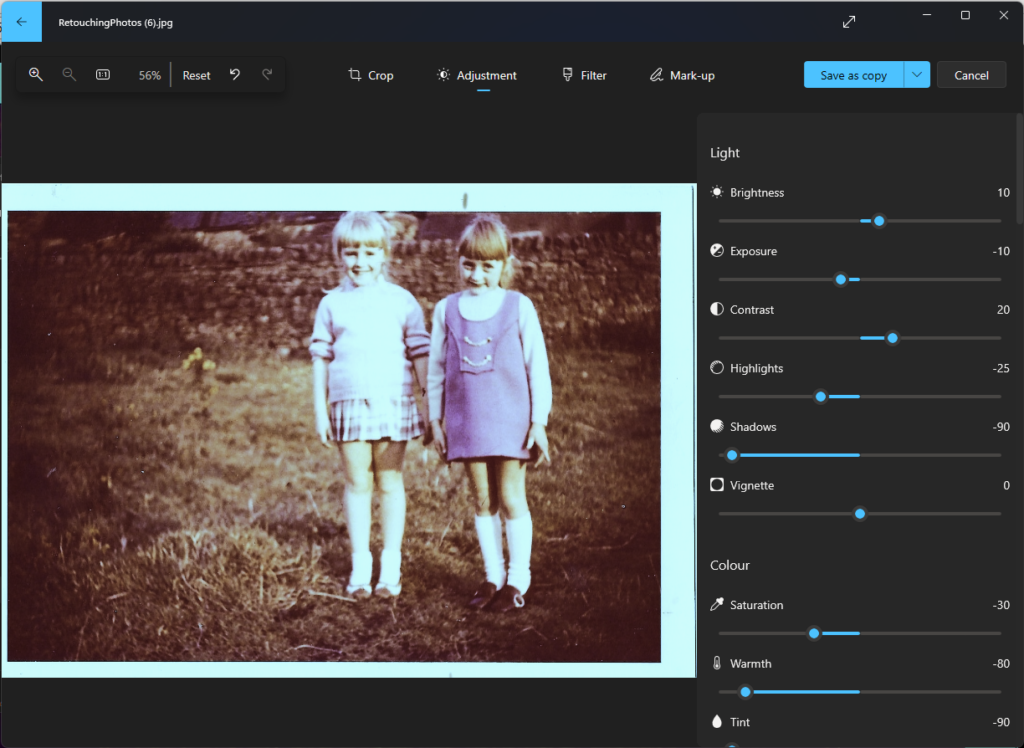
- So for example, I adjusted the warmth and tint on the photo of my mum and her friend right down to take the redness out of the photo. I turned the Saturation down slightly, but turned the Brightness and Contrast up a little to stop it from being too dark. I also took the Shadows down to -90 and the Highlights to -25. This was the result:
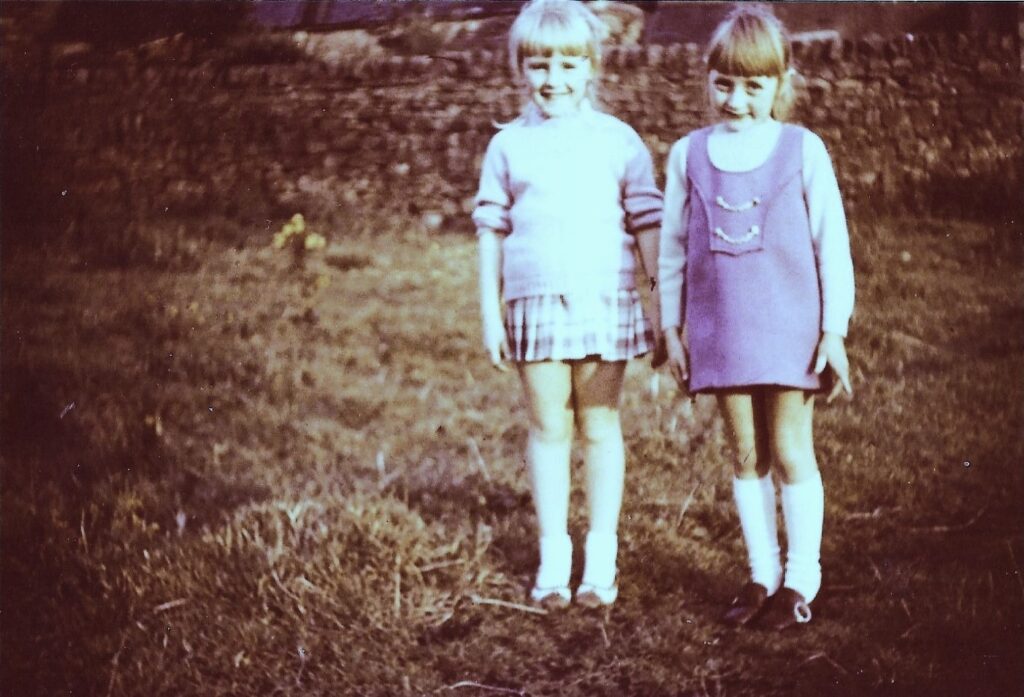
- Now it’s not perfect, I’d prefer to pull out the colours a little more, but at least they don’t look like they’re standing on Mars any more! By the way, all those numbers above are just what I happened to settle on. There was a lot of dragging sliders around and going “ooh no, that’s dreadful” whilst I worked out how I wanted the photo to look. It’s very much trial and error, and what works for one photo may well look awful on another!
- It’s also well worth trying the Auto Enhance tool on the “Filter” tab – this automatically adjusts the settings of the photo to try to improve it, and most of the time it’s pretty good.
- Once you’re happy, you can click on “Save as copy” in the top right (that way you still have the original scan) and then save the new photo, like you would with any other file.
Next, I want to show you how to edit photos in Google Photos, so I’ll use the dark party photo as an example.
Editing the dark photo on the Google Photos website
The easiest way to get to Google Photos on a computer is to open your web browser and go to photos.google.com
You’ll need to be signed into your Google account (or create one if you don’t already have one – don’t worry, it’s completely free) to get to the Photos page, and then click on “Upload” in the top right to upload the photos you want to edit.
- Once they’re uploaded, click on the photo you want to change, then click on the Edit button in the top right (it looks like a bunch of sliders). It’ll open on the Filters page – you can try out some of the preset filters just by clicking on them.
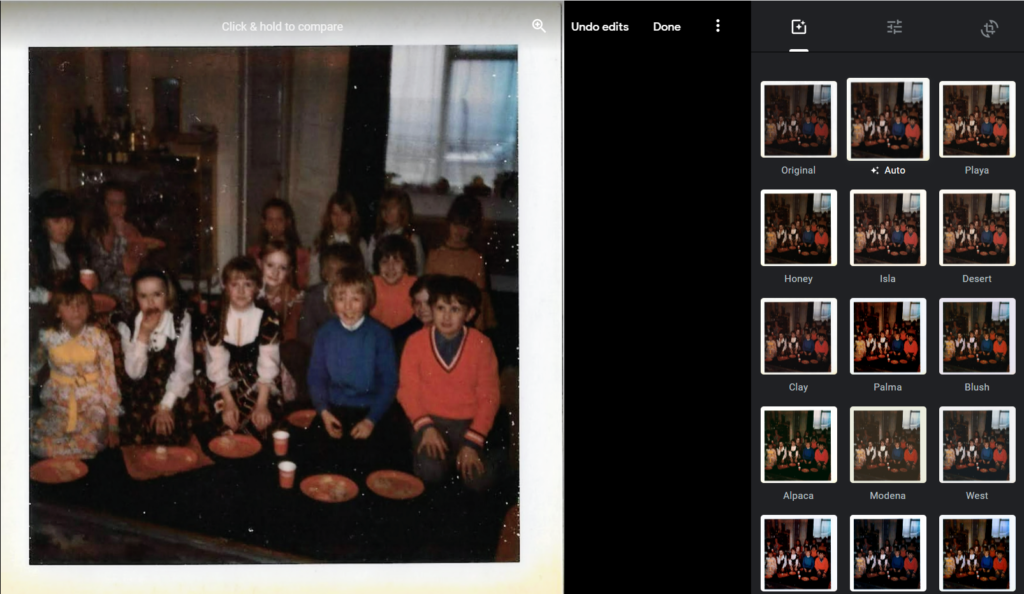
- My favourite option here though is the “Auto” filter, which is quite clever. It automatically adjusts the settings of the photo to try to improve it, and most of the time it’s pretty good. If you want to go back to the original photo, just click on the “Original” option at the top of the list of filters. So this is what the Auto filter did for the party picture:
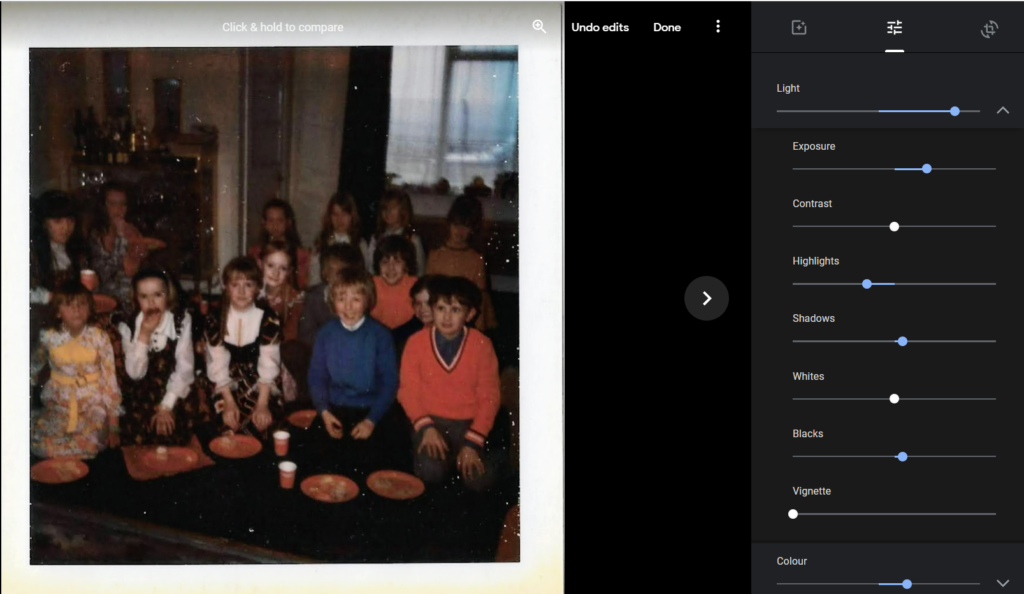
- In the top right, you can change from Filters to “Basic adjustments” by clicking on the sliders icon, which gives you Light, Colour and Pop to play with. Then if you click on the downward arrows next to Light or Colour, you get many more options within those categories to play with. If you don’t like any of the changes you’ve made, you can click the “Undo edits” button at the top to go back to the Original picture.
- The third edit panel is the Crop and rotate options – the Rotate button is in the top right, it’s the little diamond with a circular arrow around it:

- To crop the photo, click on one of the little dots in the corners and drag it around the screen. When you’re happy with your cropping and rotating, click on “Done” in the top right.
- One key difference between Windows Photos and Google Photos is that whilst Windows Photos automatically saves the edited version as a new image (unless you tell it not to), Google Photos will save the edits over the original image, unless you tell it not to. To save it as a separate copy, click on the three dots button next to the word “Done” at the top, then choose “Save copy”.
Everyone has a story to tell, and telling yours might be easier than you think!
Click here to find out all about our book Don’t Lose Your Story… including why we’ve decided to give away some of the secrets of our trade…
We’ll take your hand and guide you through the process. Everything from coming up with the ideas and planning your project, to sharing the finished article with your friends and family.